There are lots of ways to save space on your Mac, like deleting duplicate files, getting rid of leftover app installers, and emptying the trash. Another option to save space is learning how to decrease the size of your documents. If you want to free up space on your computer, we’ll show you the simple steps you can take so you know how to reduce PDF file size on Mac.
How to Reduce PDF File Size on Mac Without Losing Quality?
Reducing PDF document size doesn’t have to be complicated. Here are the easy steps you can take if you want to know how to reduce the size of a PDF on Mac without losing quality:
Step 1: Upload
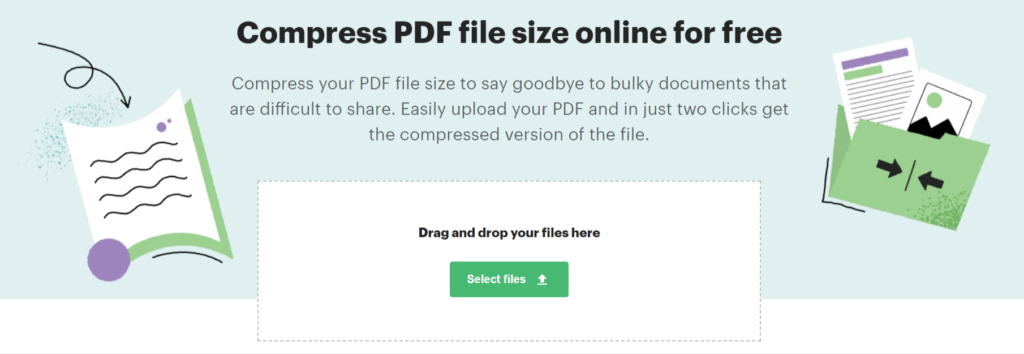
Upload your PDFs to PDFplatform by dragging and dropping the document onto the page or clicking “Select files.” You could upload one file at a time.

Step 2: Wait for the compression
The compression process starts immediately on file uploading. All you need is to wait a few seconds until our free online tool reduces the size of your PDF.
Step 3: Download
Download your newly compressed PDF document.

How to Reduce PDF File Size on Mac Using Preview?
You can also learn how to shrink a PDF file size on Mac using preview. Be aware that Quartz Filters (the method Mac Preview uses) are essentially image processing filters.
That means that, unlike apps such as PDFplatform, which are built for lossless image compression, Mac Preview processes PDF documents in such a way that your compressed file may suffer some lossy compression and have artifacts appearing on it.
To use the Mac Preview method, here are the steps to take:
Step 1: Locate your file
Using Finder, locate the document you want to shrink.
Step 2: Open the file
Double-click or right-click and select Open to open the document.
Step 3: Export the file
In Preview, select File in the top left of the window and then Export.
Step 4: Select “Reduce file size“
Once you’re in the export window, click “Reduce file size” from the drop-down menu in the Quartz Filter.
Step 5: Save
After completing your changes, save the document.
Final Thoughts
Now you know how to decrease a PDF file size on Mac and save valuable space on your hard drive. Best of all, the entire process should only take a couple of minutes, depending on the number of documents you want to compress and their sizes.
To start freeing up space on your Mac, reduce your PDF file size with PDFplatform today! In addition, you can protect your PDF with a password for more secure sharing.
FAQs
-
With PDFplatform, resizing PDF documents on a Mac without sacrificing quality is as easy as uploading your document, clicking a button to start the document compression process, and downloading your compressed document once it’s completed.
-
You can use the Quartz Filter in Mac Preview to reduce the size of your PDF, which will likely also reduce the PDF quality. Quartz Filters are basically image processing filters that can reduce document size while also impacting the image quality. All you need to do to use this method is locate and open the document, select File in the top left, then Export, and then “reduce file size” from the drop-down menu of the Quartz filter. For an even easier PDF shrinking process that maintains document quality, consider using PDFplatform’s free PDF compression tool.
-
You can use PDFplatform’s compression tool to make your PDF files smaller so you can email them easier without hitting the maximum size limits. Alternatively, to compress a PDF for emailing you can use the Mac Preview method, which might sacrifice some quality.

