Whether you’re trying to share information with a colleague, repurpose messages for a presentation, or save a record of meaningful conversations, the ability to turn iMessage conversations into a PDF can be helpful.
If you lose your phone or it gets infected with malware that deletes your conversation history, having it in a PDF format is a great way to preserve a record of the messages that used to be on your phone.
In this article, we’ll teach you how to export iMessage conversation to PDF files using our free and easy converter tool.
How to Export iMessage Conversation to PDF?
Exporting your iMessage conversations to a PDF file format can be accomplished in just five easy steps:
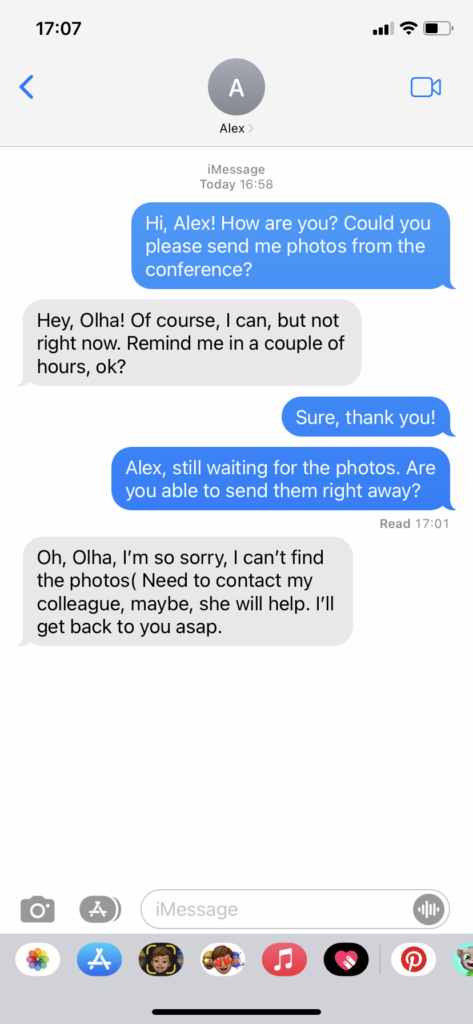
Step 1: Screenshot messages
You’ll first want to take a screenshot of the messages in your iMessage conversation. To do this, press the volume up and side buttons on your iPhone at the same time. If you’re on iOS 14 or later, you can also use the back tap feature to take a screenshot.
The screenshotting process is a bit different for Mac and iPad devices, so we’ll add specific instructions in the next section.
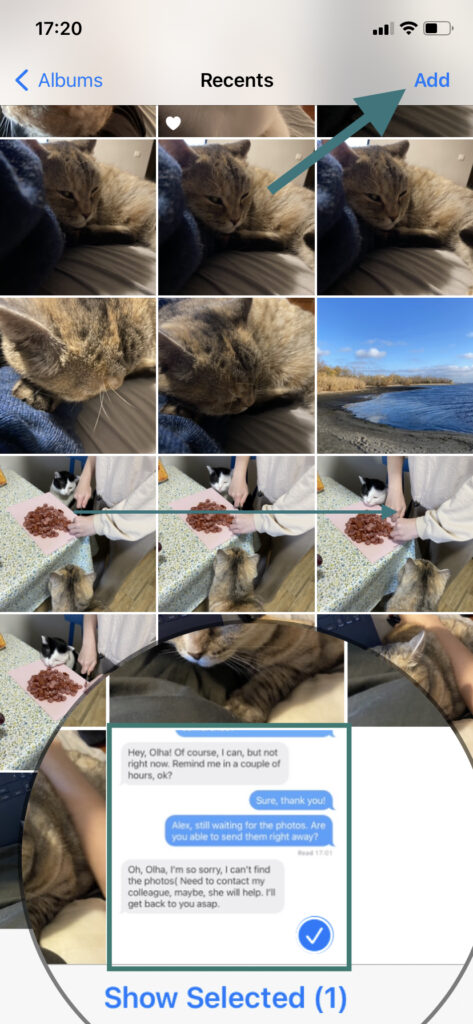
Step 2: Find screenshots
Locate the screenshots you just took in the camera roll or your phone’s Photos app.
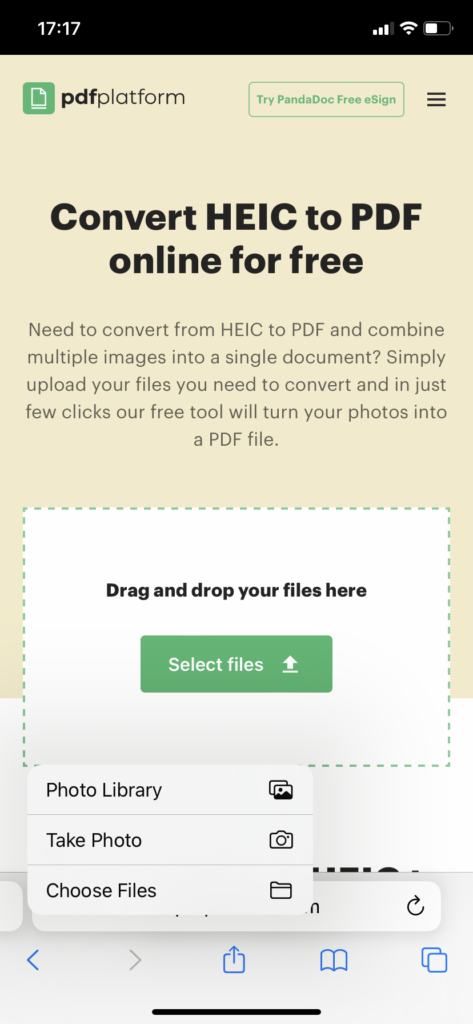
Step 3: Upload screenshots
Upload the screenshots to our free HEIC to PDF converter by selecting it from your device storage or dragging the pictures into your Safari browser.
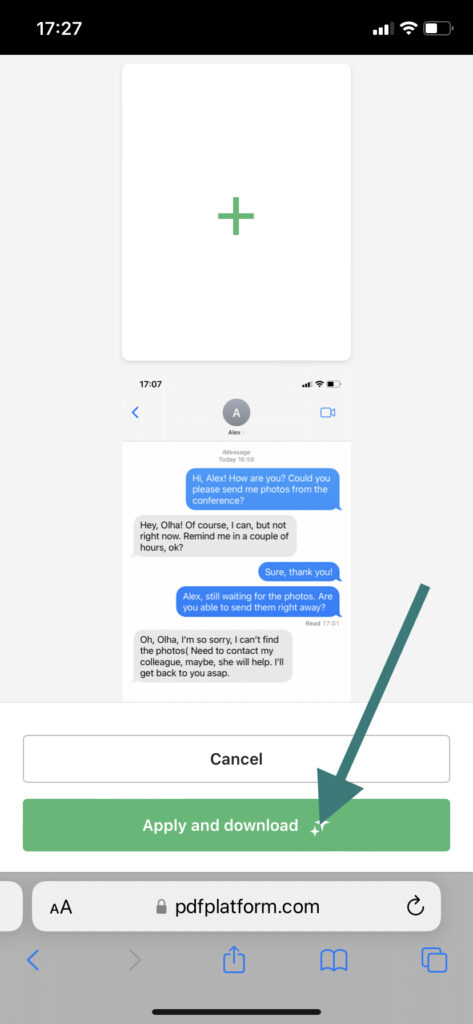
Step 4: Add images (optional)
Tap on “+” or “Add images” if you want to add more than one screenshot to the online converter tool. Otherwise, tap on “Convert” to proceed with the conversion process.
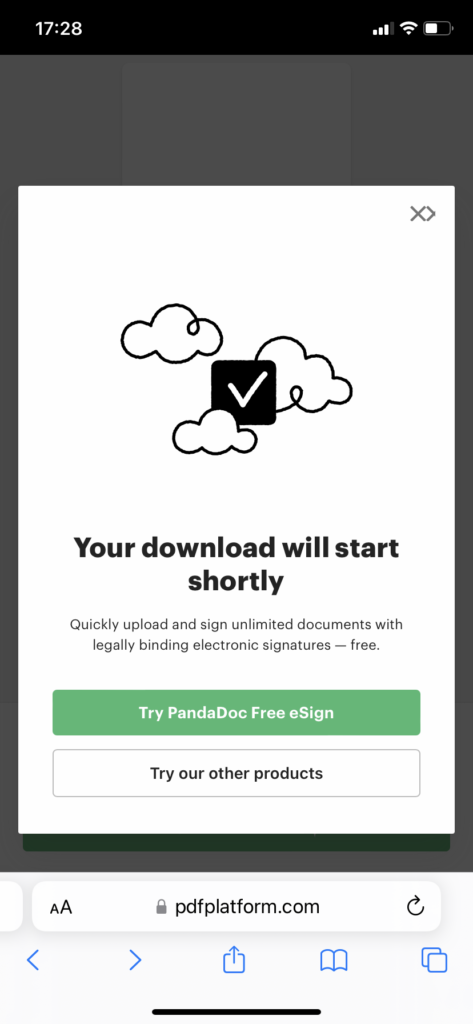
Step 5: Download
Wait a few seconds until the conversion process completes, then the converted PDF file will be automatically saved to your phone storage.
How to Take a Screenshot on Other Apple Devices
If you’re not using an iPhone, it’s still possible to take a screenshot of chat messages and sync the photos to your iCloud storage or convert it into a PDF format. Here’s how to take a screenshot on Mac devices and iPads:
Taking a Screenshot on Mac Devices
On Mac devices, you can take a screenshot by pressing and holding Shift, Command, and 3 at the same time. You can then click on the screenshot thumbnail (visible at the corner of your screen) to edit your screenshot.
You can also screenshot only a portion of your screen if you use the keyboard shortcut Shift + Command + 4. You will then be able to select an area of your screen by dragging the crosshair or move the selection by holding the spacebar while you drag your cursor. To cancel your screenshot, simply hit the escape key.
Taking a Screenshot on iPads
If your iPad was made before 2020 and has a home button, then taking a screenshot is actually quite easy. All you have to do is press both the home button and the top button simultaneously, then release them quickly.
iPads made after 2020 that don’t have a home button will still be able to take screenshots. Simply press the top button and one of your volume buttons at the same time, then release them quickly.
With both methods, you’ll see a thumbnail of the screenshot you just took at the bottom left corner of your iPad screen. You can tap on the thumbnail to open the screenshot and proceed with the following steps outlined above.
Can You Sync iMessage to iCloud?
It’s actually possible to sync your message history to iCloud so that your conversations will be backed up and readily available if you switch to a new device. Here are the steps to set up message history syncing:
- Click on iMessage at the top of the iCloud Preferences screen.
- Enable the checkbox that says “Enable Messages in iCloud.”
- Hit the “Sync Now” button to back up all existing messages and enable syncing for inbound/outbound messages in the future.
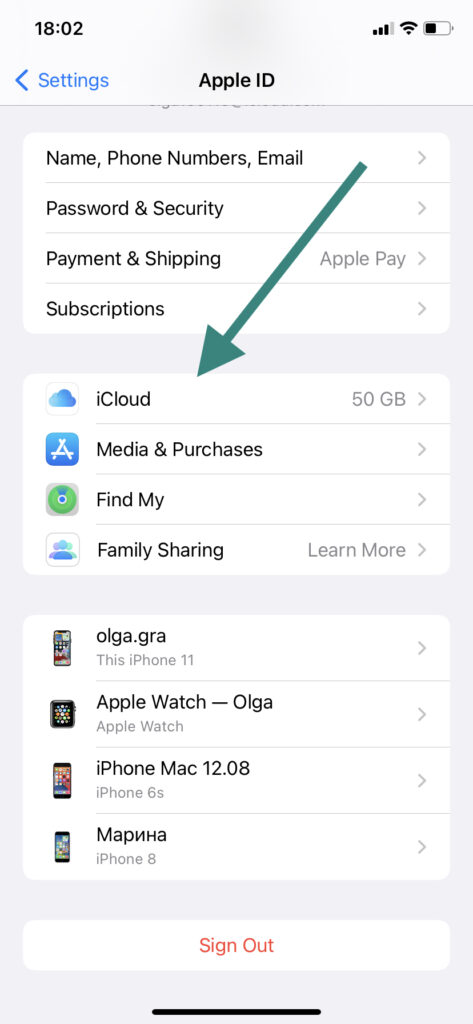
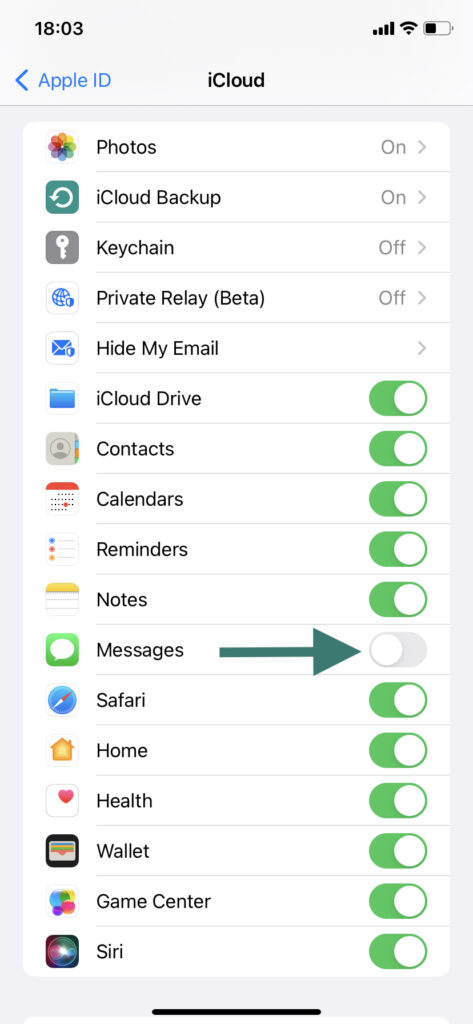
If you’re on your phone, simply open the Settings app, then tap on the profile at the top of your screen. Tap on “iCloud” right above “Media & Purchases” to access iCloud settings. Finally, toggle the iMessage slider on to enable iCloud syncing. The same process applies when trying to enable iCloud syncing on an iPad device.
Final Thoughts
As you can see, exporting your iMessage conversations as a PDF document isn’t difficult. You only need to screenshot the individual messages, upload the pictures to our free converter tool, and download the PDF file.
If you need to export your iMessage conversations right now, you can get started with our HEIC to PDF converter by clicking here.
FAQs
-
The best way to save your iMessage conversations is to screenshot them and then convert the pictures into a PDF document using our free converter tool. You can also sync your iMessage conversation history to iCloud to export the messages to a new device.
-
While Apple devices don’t let you download your entire iMessage history, you can screenshot specific conversations and then use our free converter tool to turn the images into a single PDF document.
-
To send your iMessage conversations through email, all you have to do is:
- Hold down on the message you’d like to send.
- Tap the “More” option that pops up.
- Choose the messages that you’d like to share.
- Tap the forward icon on the bottom right corner of your screen.
- Type in an email address.
- Tap the green arrow to send the email.